
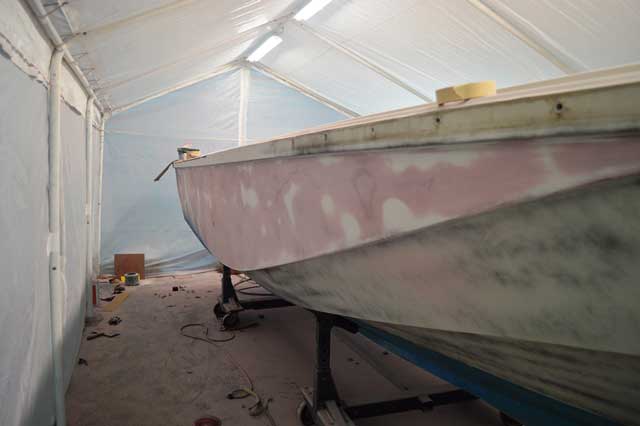
Fig. 1. Fairing hullside.

Fig. 2. Transom shot.

Fig. 3. New fuel tank in and sealed.
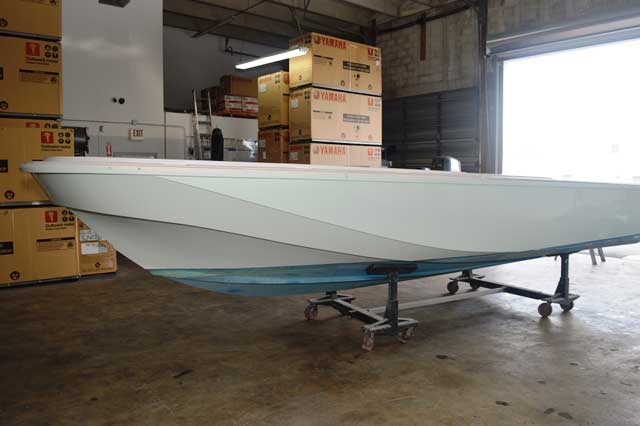
Fig. 4. Hull is painted.

Fig. 5. Interior is painted.
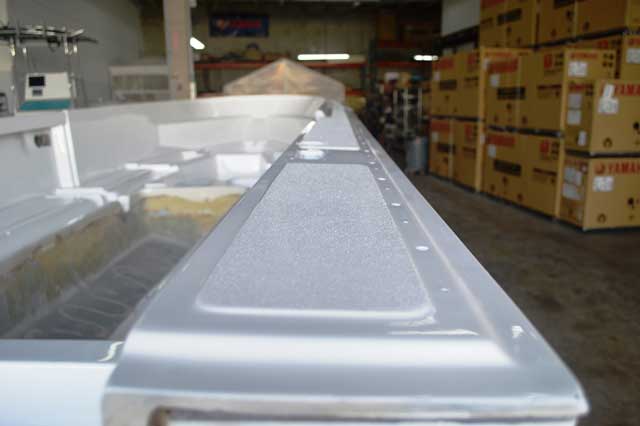
Fig. 6. Looking down the stb cap. Cap has been finished in Awlgrip with Awlgrip Non-skid.

Fig. 7. Fuel tank is installed. Tank is coated with Hull Guard Xtra anti corrosive primer, foamed in and top of foam is sealed with 3m4200, limber holes cut in stringers to allow water to flow off tank top.

Fig. 8. Empty hull shell, painted and ready for installation of fuel tank and other components.
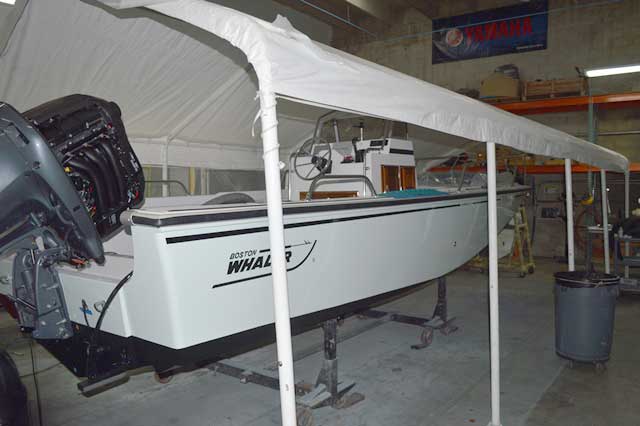
Fig. 9. Yamaha F250XNCA is mounted, console mounted, and boat going back together.

Fig. 10. Console was pre-wired off the boat, installed and completed.
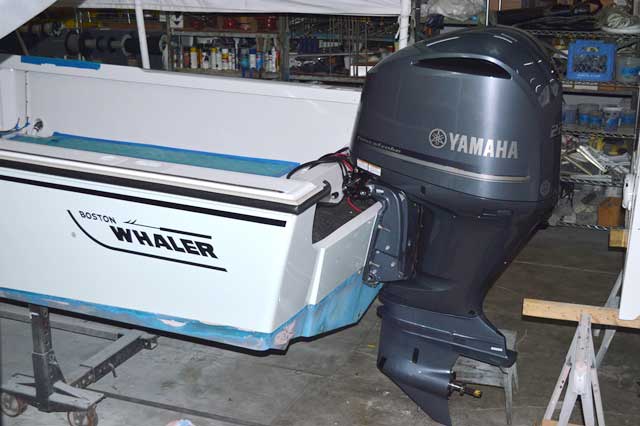
Fig. 11. Engine mounted, stripes have been painted, Emblems installed, bottom sanded and ready for paint.
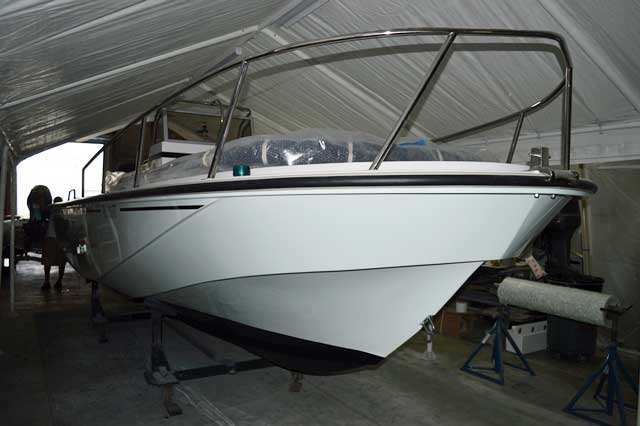
Fig. 12. Pulpit was removed; extension of bow rail over pulpit was removed; a new rail section was welded in.
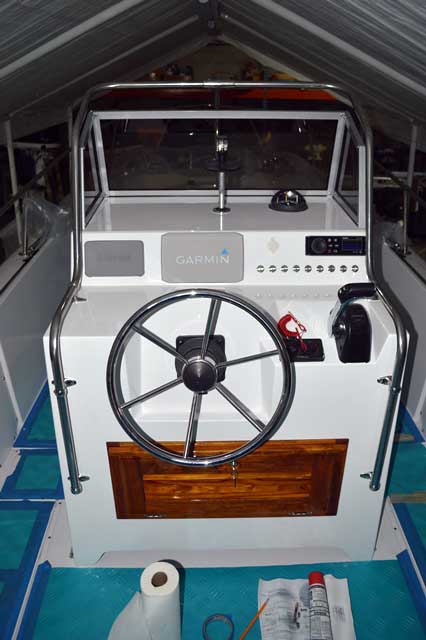
Fig. 13. Console was stripped, teak was stripped and built up with spar varnish.
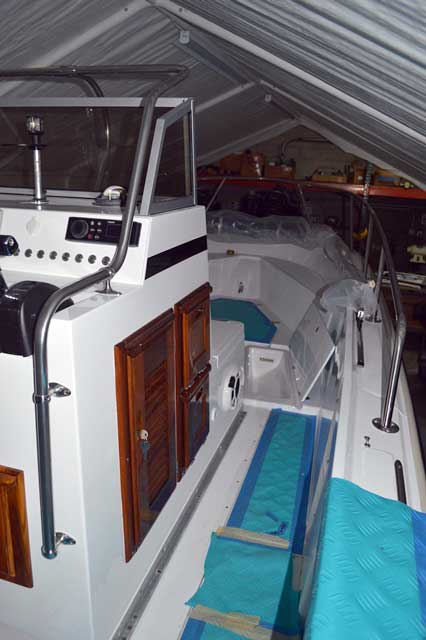
Fig. 14. Another view of the console from a slightly different position of the camera.
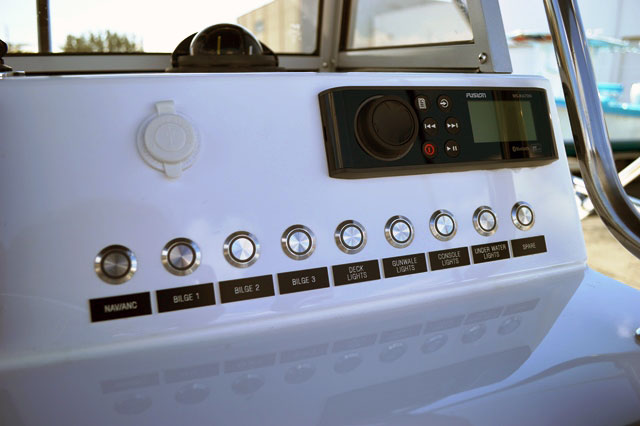
Fig. 15. We used BocaTech switches in this project. Not cheap, but look and perform well.

Fig. 16. Console installed and completed. The windscreen frame was removed,
sandblasted, prime and painted with Awlgrip.

Fig. 17. All fittings were removed, and either re-chromed or Anodized.
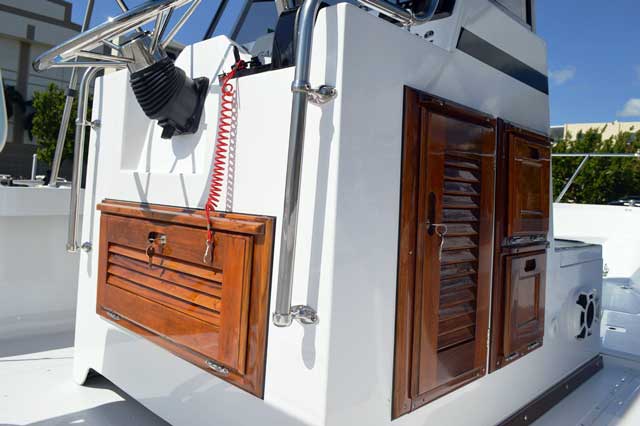
Fig. 18. Console completed, varnish is looking strong.
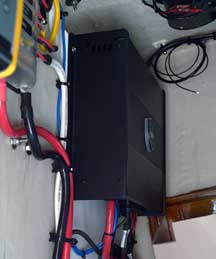
Fig. 19. Close-up of loudspeaker amplifier for music reproduction system.
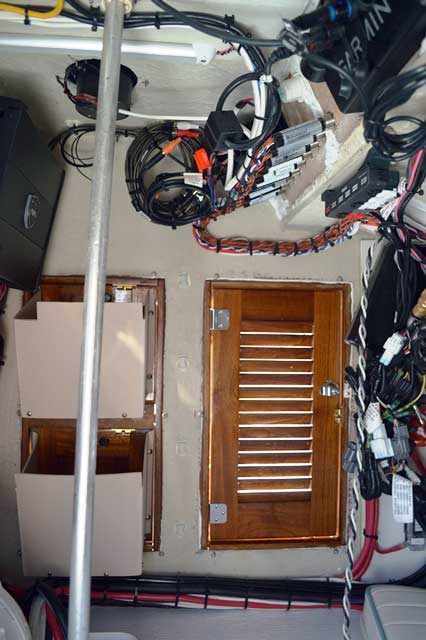
Fig. 20 Some electrical wiring and other rigging inside center console.
